
Z-Image Turbo Guide: Running Alibaba''s 6B Beast in ComfyUI (Vs. FLUX)
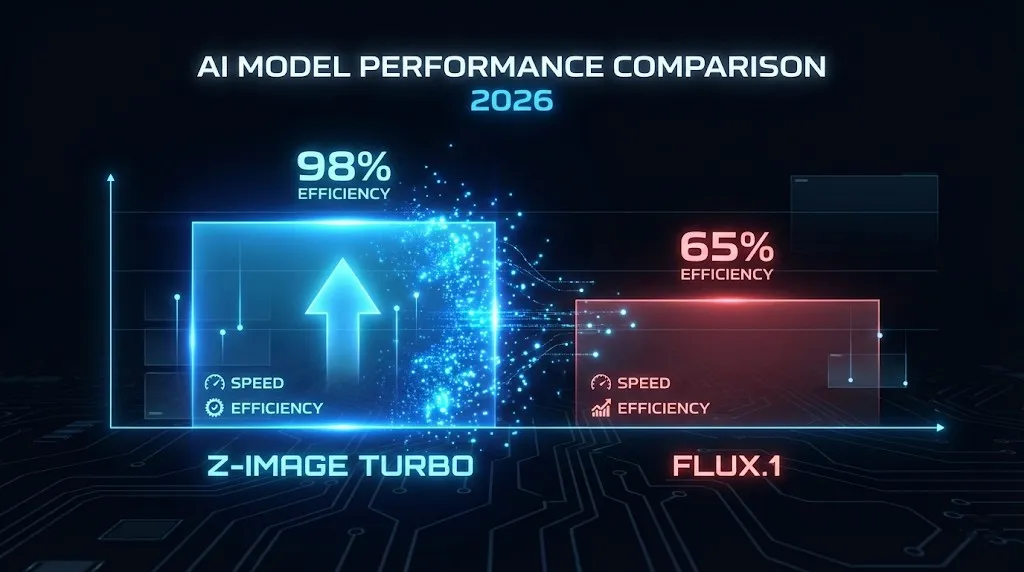
While the AI community is still recovering from the heavy VRAM requirements of FLUX.1, a new challenger has emerged from the East. Z-Image Turbo, developed by Alibaba's Tongyi Lab, is rewriting the rules of efficiency.
Unlike its heavy predecessors, Z-Image Turbo is a 6B parameter model that runs comfortably on 16GB consumer GPUs, delivering state-of-the-art (SOTA) visuals in just 8 NFEs (steps).
If you are seeing "z image comfyui workflow" trending in your search bar, you are not alone. This guide will walk you through everything from installation to advanced prompt engineering, helping you master this "speed demon" of generative AI.
Why Z-Image Turbo is a Game Changer
Before we dive into the installation, let's look at why this model is suddenly dominating the Hugging Face Trending charts.
1. Speed Meets Quality (8-Step Inference)
Most diffusion models require 20-50 steps to produce a clean image. Z-Image Turbo utilizes a distilled "Single-stream Diffusion Transformer" architecture that achieves photorealistic results in just 8 steps.
- Result: Sub-second inference speeds on H800 GPUs, and lightning-fast generation on local RTX 4080s.
2. The "Bilingual" Text Master
This is Z-Image's killer feature. While FLUX is great at English text, Z-Image Turbo excels at Chinese text rendering.
- Prompt: "A sign that says '恭喜发財' (Happy New Year)"
- Outcome: Perfectly rendered Chinese characters without the "alien script" artifacts common in SDXL.
3. Low VRAM Barrier
- FLUX.1 [dev]: Often requires 24GB+ VRAM for smooth operation.
- Z-Image Turbo (6B): Optimized for 16GB VRAM cards. With 8-bit quantization, it can even run on lower-end hardware, making high-end AI art accessible to the masses.
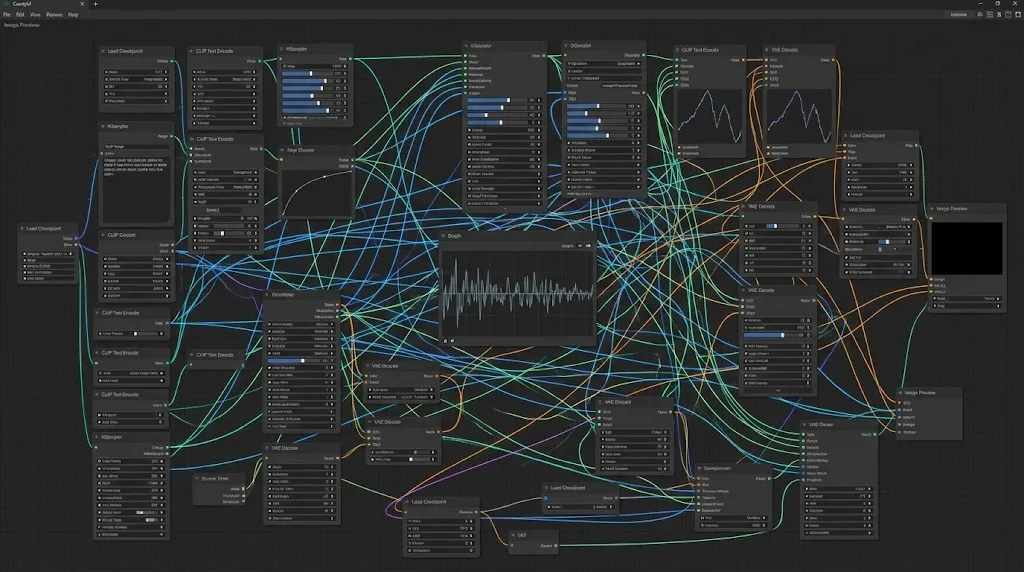
Step-by-Step: Z-Image ComfyUI Workflow Setup
Setting up Z-Image in ComfyUI is slightly different from standard SDXL models due to its unique architecture.
Prerequisites
- ComfyUI: Ensure you are on the latest version (Update All).
- Manager: Install "ComfyUI Manager" if you haven't already.
- VRAM: Minimum 12GB recommended, 16GB for optimal performance.
Phase 1: Model Installation
- Download the Checkpoint: Search for
Z-Image-Turbo-6B.safetensorson Hugging Face. - Place File: Move it to your
ComfyUI/models/checkpoints/folder. - VAE: Z-Image uses a specialized VAE. Ensure you download
Z-VAE.ptand place it inmodels/vae/.
Phase 2: Building the Workflow
(You can find the pre-built JSON in our resources section, but here is the logic for building it manually).
- Load Checkpoint: Use the standard
Load Checkpointnode but select Z-Image-Turbo. - Sampler Setup (Critical):
- Steps: Set to 8 (Going higher offers diminishing returns).
- CFG Scale: Keep it low, around 1.5 - 2.0. Turbo models fry images at high CFG.
- Sampler Name:
euler_ancestralordpmpp_2m_sde.
- Resolution: The model is trained on multiple aspect ratios. Standard 1024x1024 or 896x1152 works best.
Z-Image Prompting Guide: Mastering the Syntax
Z-Image Turbo responds best to "natural language" prompts rather than "tag salads" (danbooru tags).
For Photorealism
Prompt: "Cinematic shot, extreme close-up of an elderly man with detailed wrinkles, soft lighting, 8k resolution, depth of field."
For Text Rendering
To trigger the text capability, use quotes clearly.
Prompt: "A neon sign on a cyberpunk street that reads 'FUTURE' in bright blue letters."
Pro Tip: For Chinese text, ensure your prompt explicitly describes the style of the text (e.g., "calligraphy style", "modern font").
Common Errors & Troubleshooting
Q: My images look burnt/oversaturated. A: Check your CFG Scale. Z-Image Turbo is sensitive. Lower it to 1.5. Also, ensure your step count is not too high (8-10 is the sweet spot).
Q: "Out of Memory" (OOM) on 12GB cards.
A: Use the --fp8_e4m3fn-text-enc or --lowvram startup arguments in your ComfyUI bat file. The 6B model is efficient, but the text encoder can be heavy.
Conclusion: Is Z-Image the "FLUX Killer"?
While calling anything a "killer" is hyperbolic, Z-Image Turbo fills a massive void in the market. It bridges the gap between the lightweight SD1.5 and the heavy FLUX.1.
For users who need speed, lower hardware requirements, or Chinese text generation, Z-Image is currently the undisputed king of open-source. However, for those requiring complex cognitive reasoning and multi-turn instruction following, closed-source giants like Nano Banana Pro still hold the edge in logic. But for local generation? Z-Image wins.
Ready to try it? Download our optimized Z-Image ComfyUI Workflow JSON below and start creating in seconds.
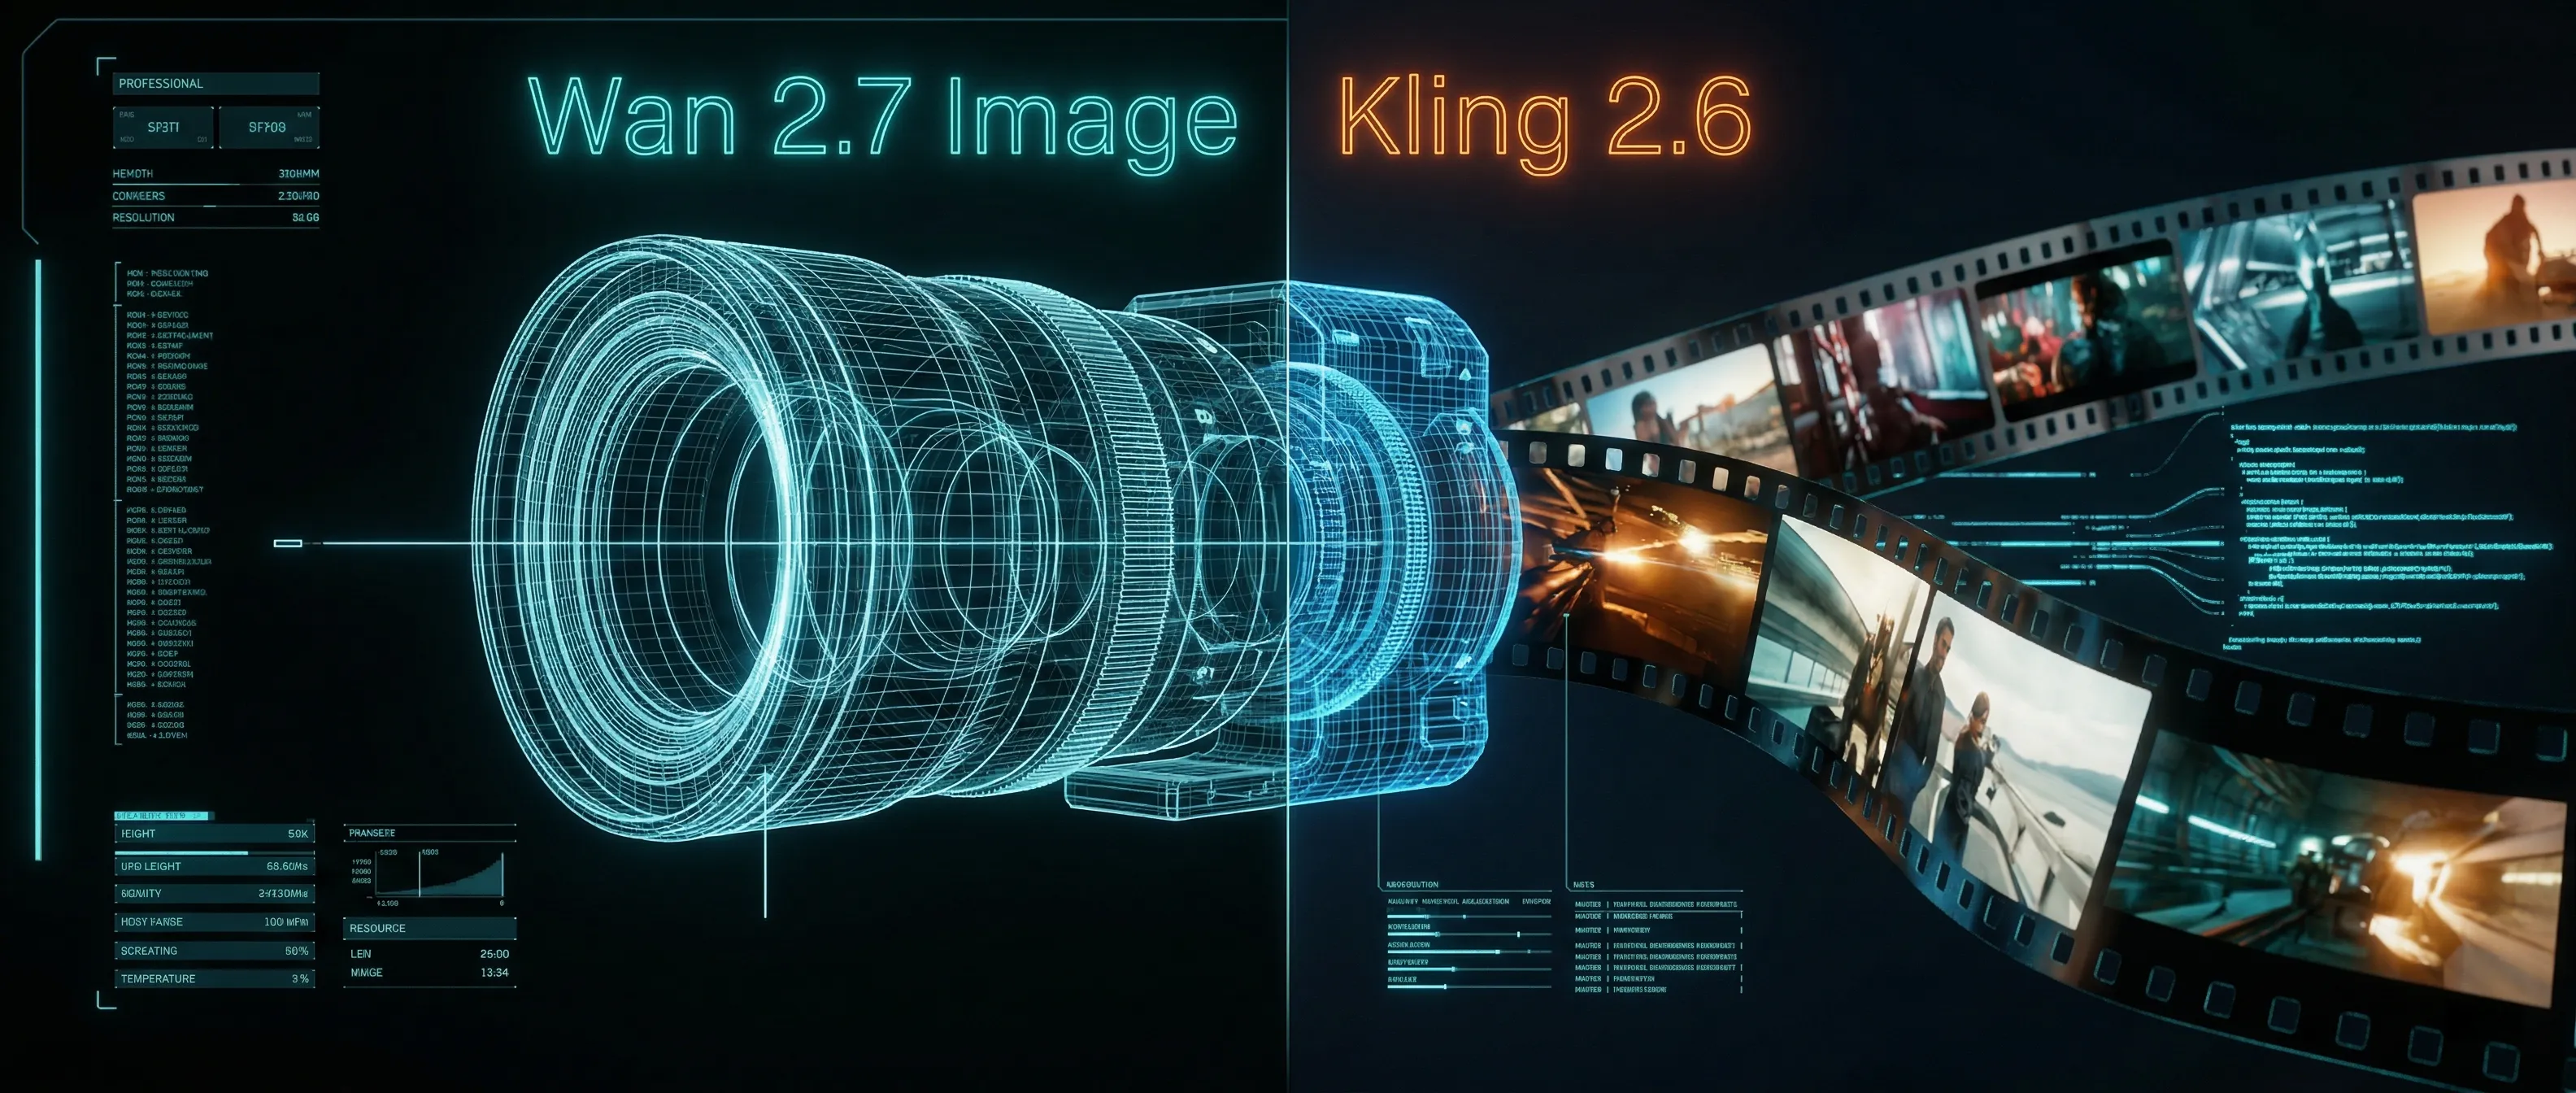
Wan 2.7 Image Meets Kling 2.6: The Ultimate AI Visual Workflow
Discover how the new Wan 2.7 Image model's advanced editing and 3K text rendering capabilities create the perfect asset pipeline for Kling 2.6 video generation.
The Next Generation of Generation: Unpacking the Wan 2.7 Upgrade
The highly anticipated Wan 2.7 Video release marks a turning point, introducing a multi-modal injection system and a studio-grade workflow for creators.

Mastering Kling Motion Control: The Ultimate Guide to AI Digital Puppetry (2026)
A deep dive into Kling Motion Control features. Learn to use Character Orientation modes, fix common errors, and master the workflow for cinematic AI video production.

Kling 2.6 & Niji 7 Workflow: How to Create Viral AI Anime Dramas (2026 Guide)
Master the ultimate AI anime workflow combining Niji 7's visuals with Kling 2.6's native audio and motion control. A step-by-step guide for creating viral manga dramas.
5 Secret Prompts for Hollywood-Style Cinematic Shots
Struggling with flat lighting? Use these copy-paste prompt formulas to master depth of field and dynamic camera angles.
Kling 3 4K vs Pro (1080p): When 4K Is Worth It-and When It's Not
A practical decision framework for choosing Kling 3 4K vs Pro (1080p): when 4K improves detail, motion, and compression-and when 1080p is the smarter default.
Kling 3 4K Workflow: Prompts, Shot Planning, and Export Settings That Actually Hold Up
A repeatable Kling 3 4K workflow to get usable deliverables: two-pass iteration, prompt templates, safe complexity rules, and export guidance to survive platform recompression.
Kling 3 Native 4K: What It Means for Quality, Motion, Compression, and Real-World Use
Learn what Kling 3 native 4K changes vs 1080p: sharper detail, cleaner motion, fewer artifacts, and when 4K is actually worth it.