Kling 3 4K Workflow: Prompts, Shot Planning, and Export Settings That Actually Hold Up
Kling 3 4K Workflow: Prompts, Shot Planning, and Export Settings That Actually Hold Up
4K doesn’t automatically mean “usable.” It means you get a higher ceiling—if your workflow doesn’t introduce chaos (too many variables, too much complexity, too many transcodes).
This guide is a repeatable Kling 3 4K workflow you can use to turn “nice previews” into deliverables that hold up after editing and platform recompression.
If you want the short version:
- Use a two-pass workflow: iterate in 1080p, then ship in 4K.
- Use materials-first prompting and constraint your composition.
- Apply safe complexity rules for motion vs texture vs crowding.
- Export a clean master and avoid multiple transcodes.
The two-pass workflow (explore → ship)
Most wasted spend comes from using the highest mode too early.
Use this as your default:
- Explore pass (1080p / Pro): lock the idea, composition, motion, and timing.
- Ship pass (4K): keep the shot consistent; only upgrade the mode.
Why it works:
- You iterate faster.
- You minimize “mode switching changes the whole shot.”
- You only pay for 4K when you’re confident you’ll keep the output.
Prompting for 4K detail without chaos
A common mistake is trying to “earn” 4K by cramming more adjectives into the prompt. That often increases randomness and artifacts.
Instead, treat 4K as a way to make materials and surfaces believable.
A prompt template you can reuse
Use this template and adjust the brackets:
- Subject: [one main subject]
- Action: [simple, readable action]
- Environment: [one clear setting]
- Lighting: [one lighting style]
- Materials: [2–4 material terms]
- Camera: [one camera move, not three]
- Composition constraints: clean background, minimal clutter, stable silhouette
Example pattern (don’t copy verbatim; customize to your shot):
A [subject] in [environment], [lighting]. Materials: [material1], [material2]. Camera: [slow push-in]. Clean background, simple composition, stable geometry, high detail textures.
Negative prompt patterns that reduce artifacts
Negative prompts work best when they remove failure modes, not when they ban everything.
Good targets:
- “distortion, melting, warped geometry”
- “flicker, jitter, unstable details”
- “low quality, excessive noise, compression artifacts”
If you see repeated glitches, add one targeted constraint rather than a long blacklist.
Shot planning: “safe complexity” rules
Even with a strong model, the fastest way to artifacts is combining:
- fast motion
- dense textures
- crowded scenes
- extreme camera moves
Use these rules to keep results stable:
If motion is fast, simplify textures
Fast motion + high-frequency textures (fabric patterns, foliage, particle fields) often creates shimmer and crawling.
Trade-off:
- keep motion fast, but make textures simpler (smooth walls, clean backgrounds)
- or keep textures dense, but slow motion down
If textures are dense, slow the camera
If your shot is about micro-detail (product surfaces, fabric, skin texture), keep camera motion smooth:
- slow push-in
- slow pan
- minimal handheld shake
This helps preserve stable detail frame-to-frame.
If the scene is crowded, reduce movement
Crowds, multiple characters, or busy environments already consume “complexity budget.”
If you must have a crowded scene:
- keep camera movement minimal
- reduce the number of moving elements
- simplify background patterns
The goal is to keep the shot readable and consistent.
Export and compression: keep a clean master
Many “model artifacts” are actually pipeline artifacts introduced by repeated encoding.
Export once, upload once
Best practice:
- do your edit, captions, and overlays
- export a clean master once
- upload that master once
Avoid exporting, re-importing, and exporting again unless you have to.
Where artifacts are introduced in the pipeline
Common artifact sources:
- low bitrate export (macroblocking)
- multiple transcodes (detail gets crushed each time)
- platform recompression (banding and mosquito noise)
The job of a Kling 3 4K workflow is to protect your clean source until the final encode.
Troubleshooting guide (symptom → fix)
Use this as a fast debugging loop:
- Shimmer/crawling on patterns → simplify textures or slow camera motion
- Flicker/boiling details → reduce micro-elements; tighten composition; add “stable geometry”
- Banding in gradients → avoid extreme smooth gradients; keep lighting simple; export at higher bitrate
- Macroblocking after upload → export higher bitrate; reduce fast motion; upload a cleaner master
Change one variable at a time so you can learn what actually fixed it.
Summary checklist
- Explore in 1080p, ship in 4K
- Materials-first prompts, minimal clutter
- Safe complexity rules (motion vs texture vs crowding)
- Export once, keep a clean master, avoid multi-transcode pipelines
Kling 3 4K vs Pro (1080p): When 4K Is Worth It—and When It’s Not
A practical decision framework for choosing Kling 3 4K vs Pro (1080p): when 4K improves detail, motion, and compression—and when 1080p is the smarter default.
Kling 3 Native 4K: What It Means for Quality, Motion, Compression, and Real-World Use
Learn what Kling 3 native 4K changes vs 1080p: sharper detail, cleaner motion, fewer artifacts, and when 4K is actually worth it.
HappyHorse AI Video Generator: What the New Model Can Do
Discover HappyHorse, a new AI video generation model with text-to-video, image-to-video, video-to-video, native audio, and creator-friendly workflows.
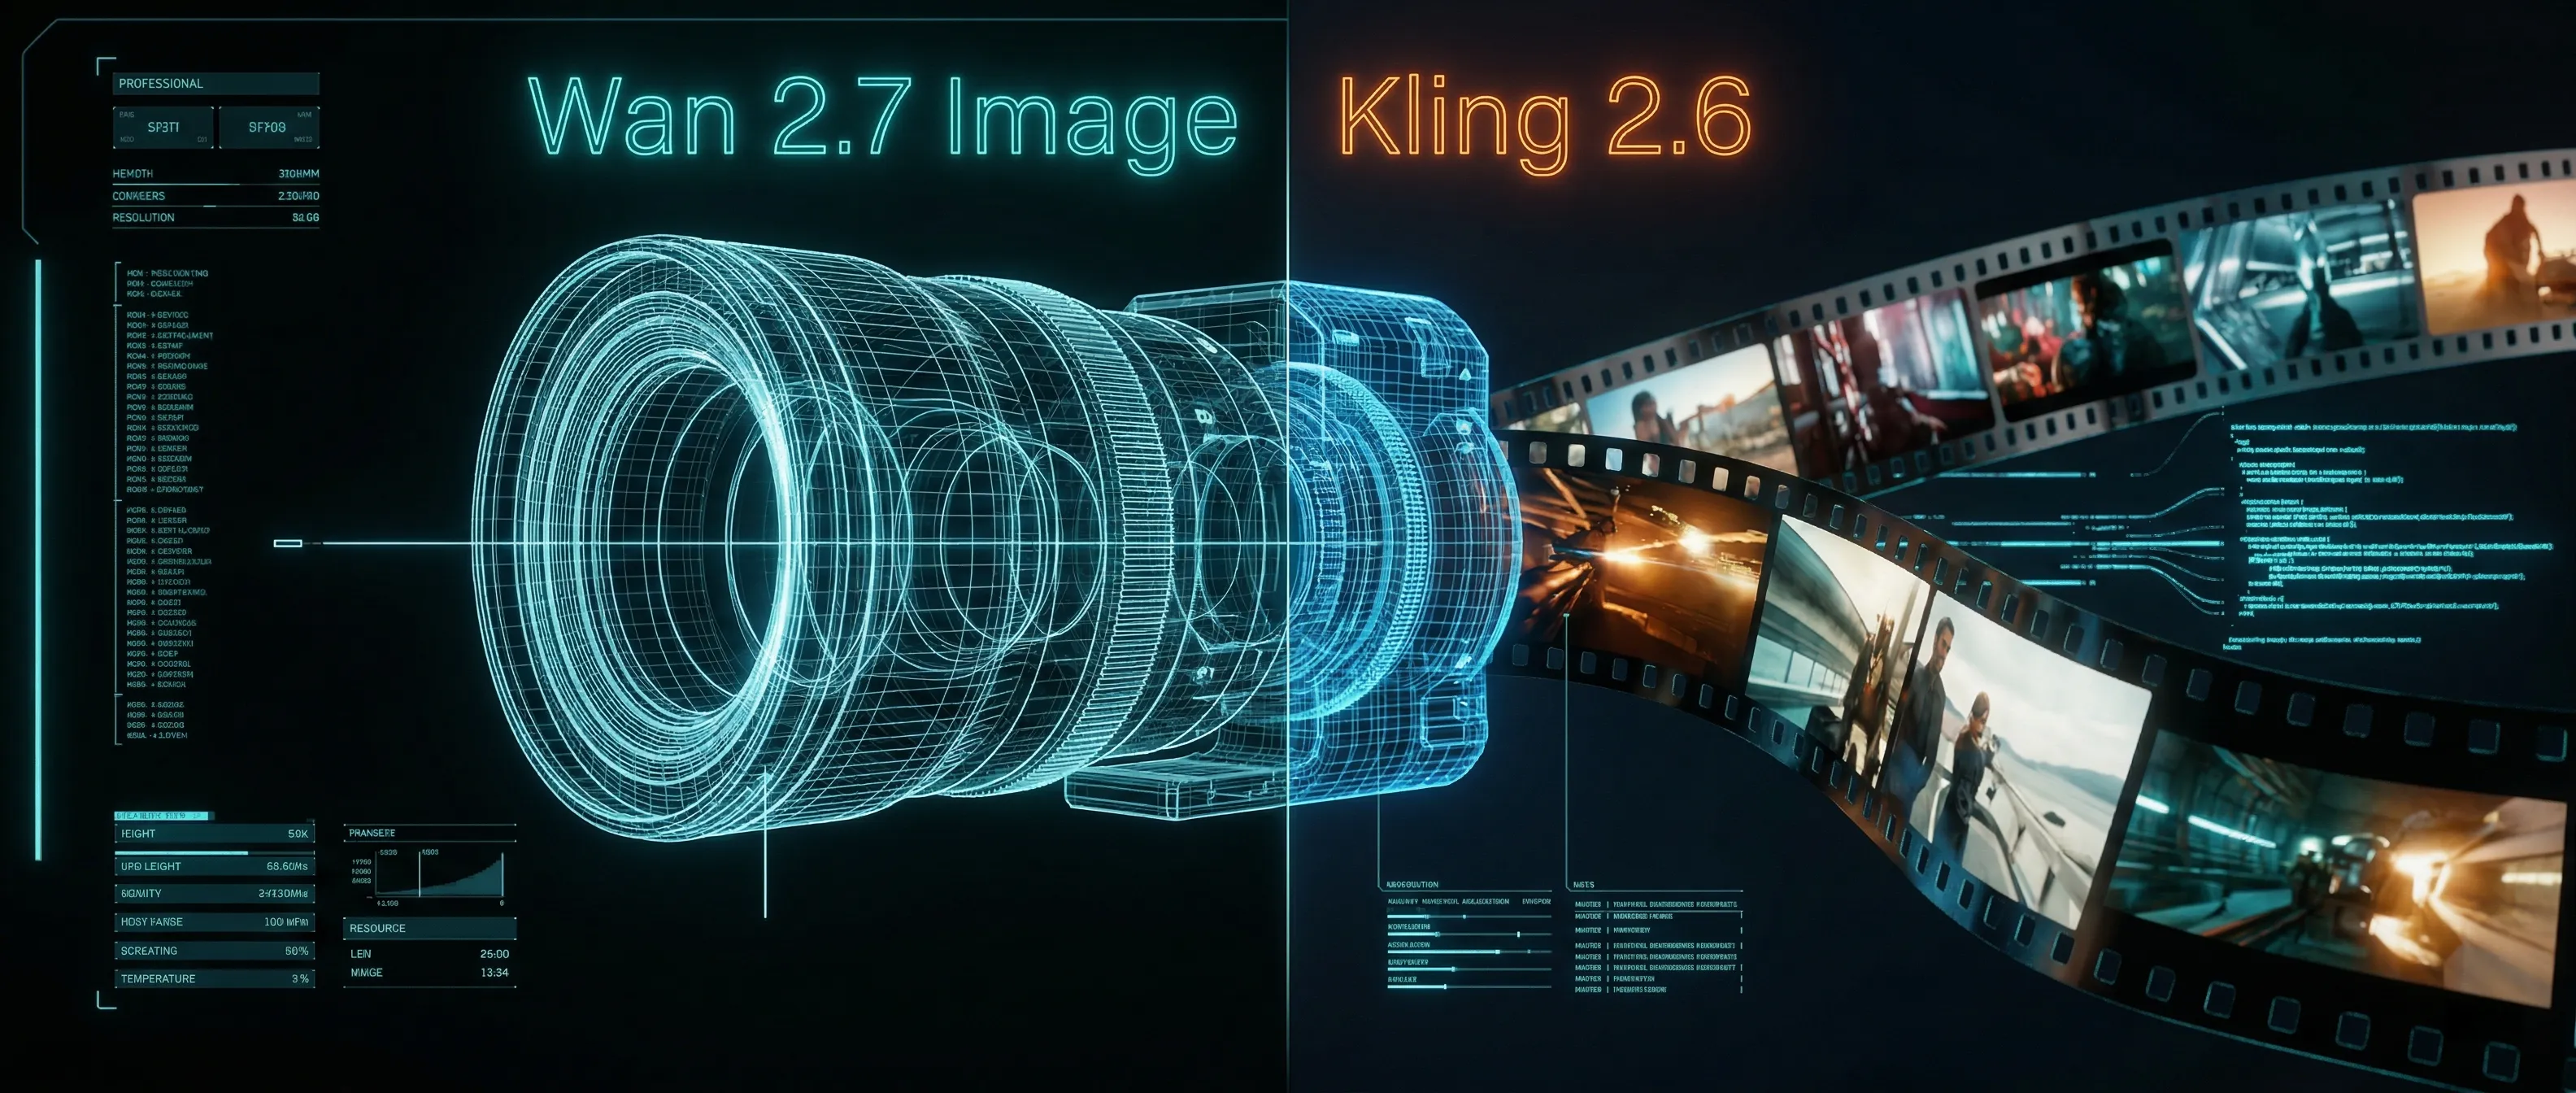
Wan 2.7 Image Meets Kling 2.6: The Ultimate AI Visual Workflow
Discover how the new Wan 2.7 Image model's advanced editing and 3K text rendering capabilities create the perfect asset pipeline for Kling 2.6 video generation.
The Next Generation of Generation: Unpacking the Wan 2.7 Upgrade
The highly anticipated Wan 2.7 Video release marks a turning point, introducing a multi-modal injection system and a studio-grade workflow for creators.
The Zero-Cost MoCap Studio: Mastering Kling 3.0 Motion Control for Extreme Action Physics
Master Kling 3.0 Motion Control for extreme action physics. Learn how to create cinematic combat choreography, parkour sequences, and VFX-grade animation without expensive motion capture suits.
Mastering Audio-Visual Sync: My Hands-On Guide to Kling Video 3.0 Omni
A comprehensive guide to Kling Video 3.0 Omni's Native Audio-Visual capabilities. Learn how to achieve accurate mouth movement AI, perfect lip-sync, and complex emotion reproduction for professional-grade AI video content.
The Ultimate AI Workflow: From Nano Banana 2 to Kling 3.0 Motion Control
Master the ultimate cross-modal pipeline combining Nano Banana 2 image generation with Kling 3.0 Motion Control for commercial-grade AI animation. Learn how to create zero-defect video content.